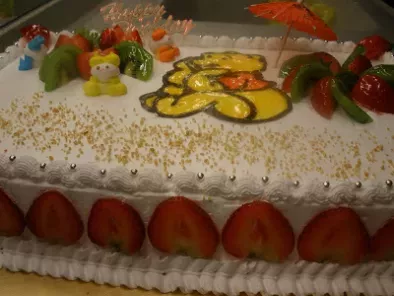
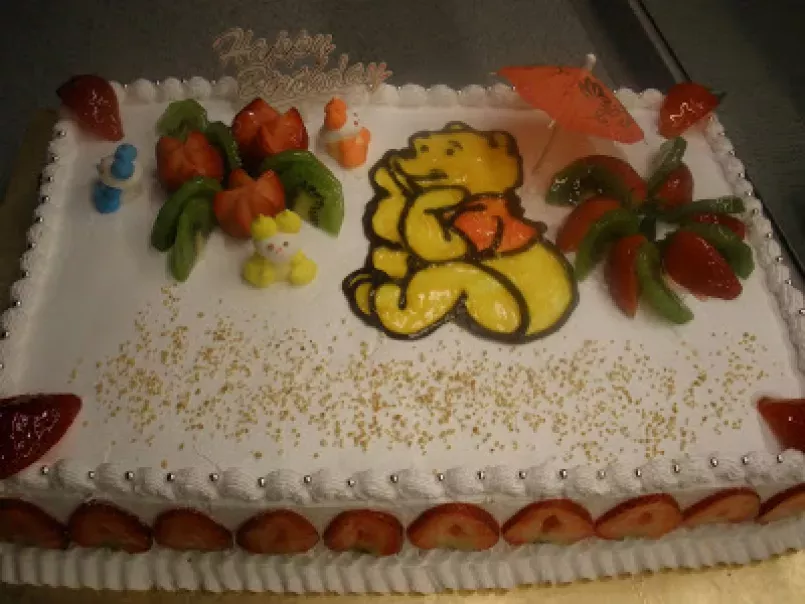
Winnie the pooh birthday cake


Ingredients
3
You may like
Easy kinder bueno roll, perfect as a birthday cake or as a christmas log!
Preparation
Preparation30 min
Cook time35 min
- Slice sponge cakes into 3 layers, sandwiched with icing.Used some icing to glue 2 of the sponge cakes into a rectangle shape. Trimed off the sides.Spread a thin layer of icing all over the sponge cake surface, spread another layer of icing and smoothen the surface by using a scrapper or spreader.
- Used melted chocolate to trace the line of the cartoon, when the chocolate is harden, transfered it onto the cake surface, filled up the center with coloured piping jelly.Piped some icing on the edge to cover the uneven frosting.
- Decorated with some strawberries and kiwi fruits as flowers & leaves.Sprinkled some smashed popcorn below the cartoon as the beach sand.Lastly placed an umbrella beside the cartoon as a beach umbrella.
- Used icing to glue 2 square sponge cakes into a rectangle sponge cake. Ice the cake with a thin layer of icing. Iced the cake with another layer of icing. The icing was not up to my expectation, so I have to smooth it with another process. Used masking tape to tape the cartoon print on the table.
- Used a sheet of baking sheet to place on top of the cartoon print, secured it with masking tape. Traced the line with melted chocolate. Transferd the chocolate cartoon onto the cake surface, filled up with coloured piping jelly. Piped the edges with icing and placed a quarterly-cut strawberries on each corner. Piped some icing on the edge of the surface.
- Used some strawberries and kiwi to decorate as flowers and leaves. Piping the icing on the bottom edge and placed sliced strawberries above the skirting.
You tried this recipe ?
Mention @petitchef_en and tag #petitchef
Mention @petitchef_en and tag #petitchef
You may like
-
 Easy kinder bueno roll, perfect as a birthday cake or as a christmas log!
-
 Despacito cake - the famous brazilian chocolate and coffee cake
-
 French amandier cake, the super soft almond cake
-
 Crinkle cake, the super crispy and easy to make cake - easy turkish laz borek
Questions
Photos of members who cooked this recipe
Photos


Comments
Rate this recipe:
There are no comments!